
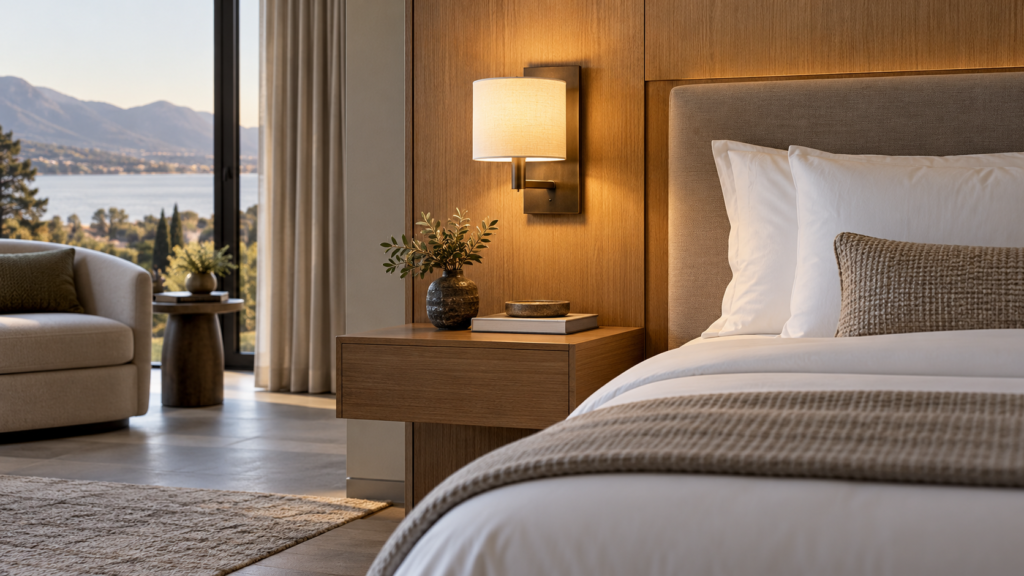
Hotel bedside lighting works best when the headboard, nightstand, electrical points, and controls are planned together. A coordinated layout gives guests useful light without obstructing the bed or leaving switches out of reach.
Start with the bed and nightstand
Confirm mattress size, bed position, headboard dimensions, and nightstand height before locating lights. Check the same arrangement on both sides, allowing for door swings, curtains, and housekeeping access. A wall-mounted light can free the surface for a phone and water, while a table lamp may be easier to replace.
Plan light for different tasks
Reading lights should direct light toward the book without shining into a companion’s eyes. Softer ambient lighting can support movement around the room. Test sample fixtures with the actual headboard finish: reflective surfaces can create glare even when a fixture looks comfortable on its own.
Coordinate switches and power
Mark each switch, outlet, and cable route on a coordinated elevation. Guests should be able to reach controls from a typical sleeping position. Allow access to connections for maintenance, and have the project’s qualified electrical team confirm installation requirements and local regulations.
Compare the common options
| Option | Useful when | Check before ordering |
|---|---|---|
| Wall reading light | Surface space is limited | Mounting reinforcement and cable access |
| Table lamp | Flexible replacement is important | Stable base, cable route, and outlet position |
| Integrated headboard light | A consistent built-in appearance is desired | Service access and replacement parts |
Review a mock-up
Build one representative room or a full-size section before ordering the full quantity. Sit and lie on the bed, operate each switch, check glare, and ask housekeeping to clean around the fixture. Record approved positions in the furniture drawings and electrical schedule.
Illustrative example
In a fictional 40-room hotel, the design team moves a reading light slightly inward after a mock-up reveals that guests cannot comfortably reach its switch. The revised drawing also leaves a removable access panel for future servicing. This is a planning example, not a completed client project.
Lead time and next steps
Custom furniture projects may take 15–45 days depending on the design, quantities, materials, approvals, and production schedule. Confirm the delivery date for your specific project. Share room plans and fixture information with Simple Century to discuss the furniture layout.
Frequently asked questions
Should lighting be included in furniture drawings?
Show fixture positions, clearances, fixing points, and access panels. Electrical specifications and connections should also be coordinated with the responsible electrical designer.
Can wall lights replace bedside lamps?
They can save tabletop space, but compare reading comfort, controls, maintenance, and the room’s ambient lighting before making the decision.
When should the layout be approved?
Approve it after reviewing coordinated drawings and a representative mock-up, before repeat production and installation.